
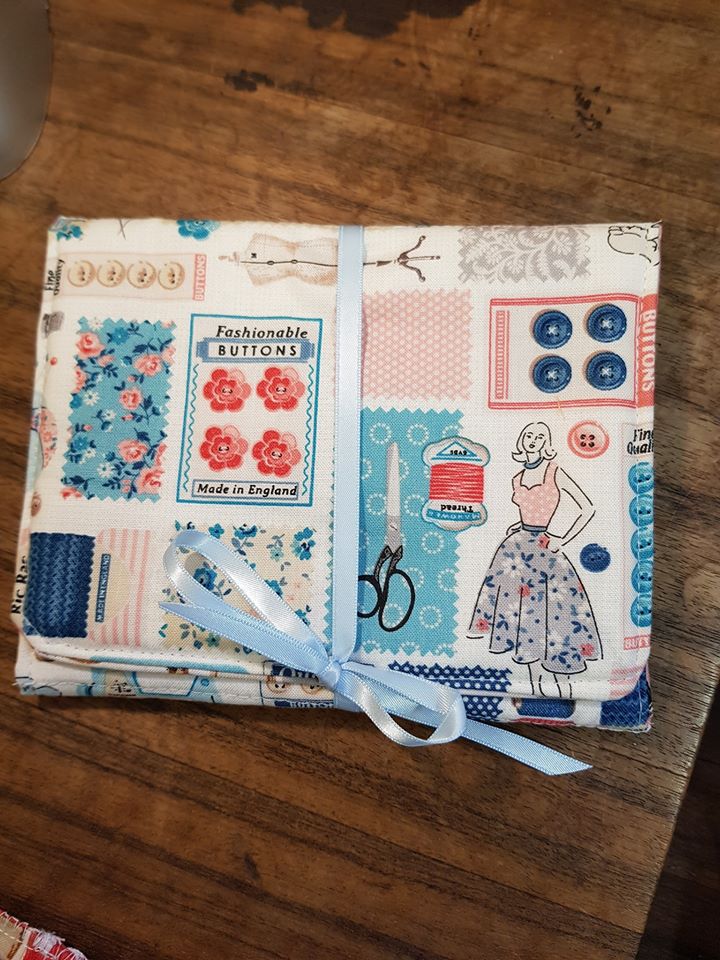
This simple little wallet is perfect for holding all your sewing goodies, or change the pocket layout and it's great for jewelery or pens.
You will need
2 pieces of fabric 16 1/2 x 7 1/2 inches
1 piece of wadding or interfacing 16 1/2 x 7 1/2 inches
various sizes of fabric for the pockets
a length of ribbon for fastening, 28 inches is a reasonable amount

Divide your fabric into 3 lengthways; these will be the fold lines. Decide on your pocket placement, I went for a decorative square in the middle, on the bottom, two pockets one on top of the other, with a seam down the middle to divide them

Make sure your pockets at either end are facing towards the centre, ot the contents will fall out when you fold it!
Hem the top of all the pockets and if you are using the central square make sure you tuck all the edges under before stitching into the lining.

If you are using a directional print for the outer cover of your wallet make sure that it will be the right way up when you fold the cover over.

Place the piece together in this order
wadding, outer cover right side up, lining (with the pocket in place) right side down. Pin in place

Cut a curve at each of the front piece of the wallet.
Attach the ribbon between the outer cover fabric and the lining fabric. Fold the ribbon about a third of the way along and pin. Make sure the ends are tucked well inside and stitch round the edges with a seam allowance of approx 1/4 inch, leaving a 2 -3 inch gap for turning,
Turn the right way around and press. Top stitch all the way around to enclose the turning opening.
Stitch along the two fold lines and you're done!